If you love the soft, chewy texture of mochi, you’ll adore these mochi brownies! This delightful treat blends the best of both worlds—decadent chocolate and that unique chewy bite. In this post, I’ll guide you through a simple recipe that’s easy to follow. You’ll impress friends and family with this tasty twist on a classic. Get ready to whip up some mochi brownies that everyone will crave!
Why I Love This Recipe
- Unique Texture: The combination of glutinous rice flour gives these brownies a chewy, mochi-like texture that sets them apart from traditional brownies.
- Rich Chocolate Flavor: With cocoa powder and chocolate chips, these brownies are packed with rich chocolate flavor, satisfying any chocolate craving.
- Quick and Easy: This recipe comes together in just a few simple steps and requires minimal prep time, making it a perfect last-minute dessert option.
- Customizable: You can easily customize these brownies by adding nuts, different types of chocolate, or even a swirl of peanut butter for a fun twist!
Ingredients
For these mochi brownies, you’ll need a few simple ingredients. Each one plays a key role in giving us that unique chewy texture and rich flavor.
List of Ingredients
– 1 cup glutinous rice flour (mochi flour)
– 1 cup granulated sugar
– 1/2 cup cocoa powder
– 1/2 teaspoon baking powder
– 1/4 teaspoon salt
– 1/2 cup milk (or dairy-free alternative)
– 1/4 cup vegetable oil
– 2 large eggs
– 1 teaspoon vanilla extract
– 1/2 cup semi-sweet chocolate chips
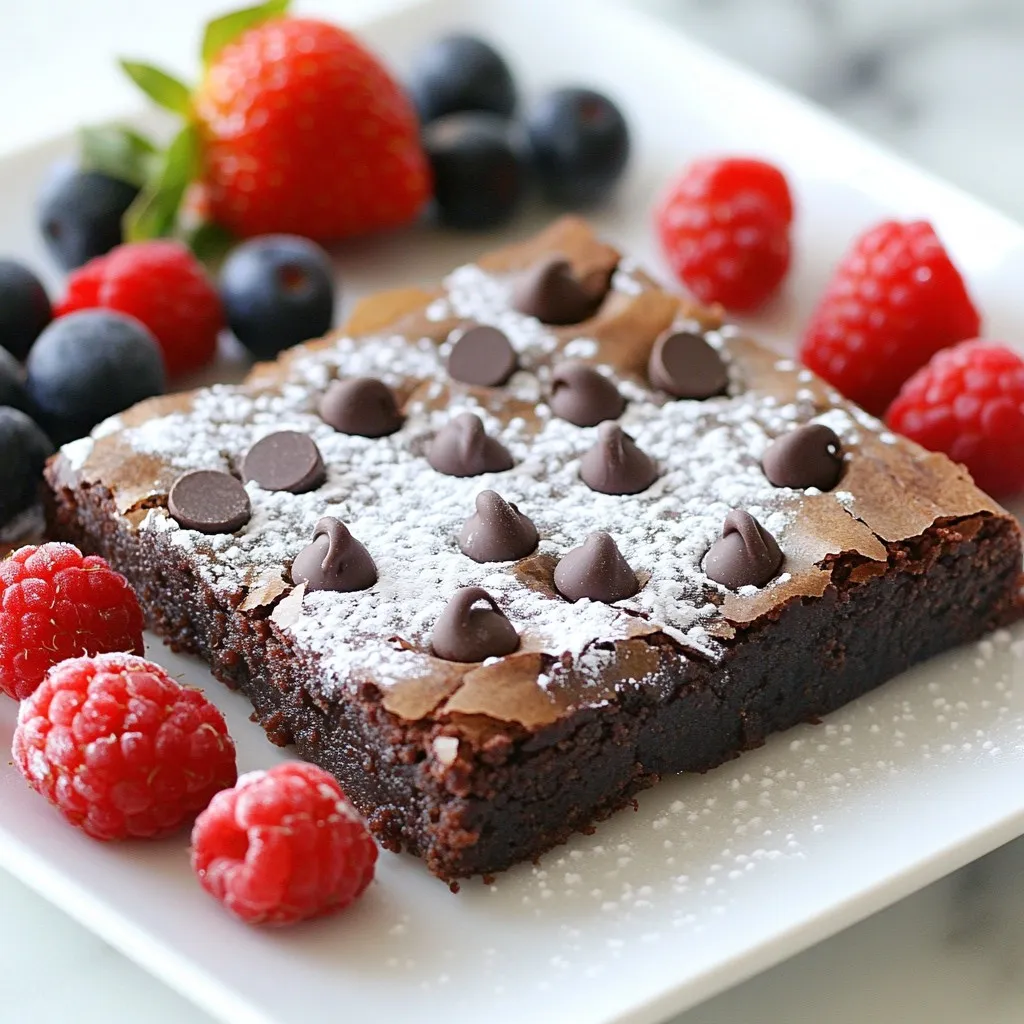
– Powdered sugar for dusting (optional)
Using glutinous rice flour is essential. This flour gives the brownies their signature chewiness. Granulated sugar adds sweetness, while cocoa powder provides that rich chocolate flavor. Baking powder and salt help the brownies rise and enhance taste.
Milk and vegetable oil keep the brownies moist. Eggs bind the ingredients, while vanilla extract adds a lovely aroma. Semi-sweet chocolate chips give bursts of chocolate in every bite. If you like, you can dust the brownies with powdered sugar for an elegant finish.
These ingredients come together to create a delightful treat that is sure to impress!

Step-by-Step Instructions
Preparation Steps
1. Preheat your oven to 350°F (175°C). This temperature helps the brownies bake evenly.
2. Prepare an 8-inch square baking pan. Grease it and line with parchment paper. Leave some paper hanging over the sides. This helps with easy removal.
3. In a large bowl, mix the dry ingredients. Combine 1 cup of glutinous rice flour, 1 cup of granulated sugar, 1/2 cup of cocoa powder, 1/2 teaspoon of baking powder, and 1/4 teaspoon of salt. Whisk until everything is well mixed.
Combining Wet Ingredients
1. In another bowl, whisk together the wet ingredients. Use 1/2 cup of milk, 1/4 cup of vegetable oil, 2 large eggs, and 1 teaspoon of vanilla extract. Mix until smooth.
2. Carefully add the wet mixture to the dry ingredients. Stir gently until just combined. A few lumps are okay, so don’t over-mix.
3. Fold in 1/2 cup of semi-sweet chocolate chips. Make sure they are evenly spread in the batter.
Baking Process
1. Pour the batter into the prepared baking pan. Use a spatula to smooth the top.
2. Bake in the preheated oven for 30-35 minutes. Check doneness with a toothpick. It should come out with some moist crumbs.
3. Once done, take the brownies out of the oven. Let them cool in the pan for about 10 minutes. Use the parchment paper to lift them out. Place on a wire rack to cool completely.
Tips & Tricks
Baking Tips
To make perfect mochi brownies, focus on the batter’s consistency. The batter should be thick but smooth. If it feels too runny, it may not set well. Mix just until combined, leaving some lumps. This helps keep the chewy texture.
Baking time and temperature are also key. Preheat your oven to 350°F (175°C). Bake the brownies for 30 to 35 minutes. To check doneness, insert a toothpick in the center. It should come out with moist crumbs, not wet batter. Overbaking can lead to dry brownies.
Serving Suggestions
For a great presentation, serve the mochi brownies on a nice platter. Add fresh berries or mint leaves on top. This adds color and freshness. You can also dust them with powdered sugar for a sweet touch.
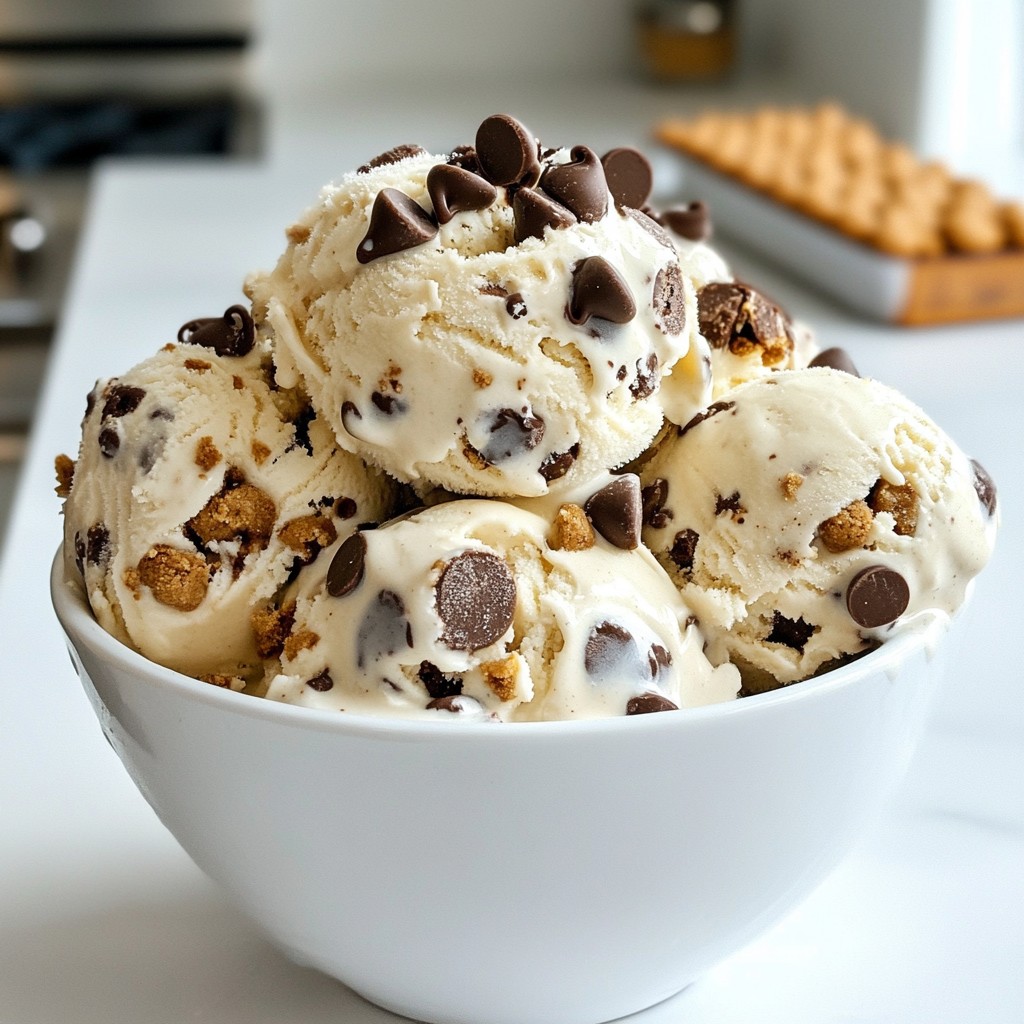
Pair these brownies with a scoop of vanilla ice cream. The creamy ice cream balances the chewy texture of the brownies. You can also serve them with fresh fruit for a lighter option. Enjoy!
Pro Tips
- Use Fresh Ingredients: Always opt for fresh eggs and high-quality cocoa powder to enhance the flavor of your brownies.
- Don’t Overmix: Mix the batter until just combined to ensure your brownies remain chewy and not cake-like.
- Check Doneness Carefully: Insert a toothpick into the center; it should come out with a few moist crumbs for that perfect chewy texture.
- Store Properly: Keep the brownies in an airtight container at room temperature to maintain their chewy texture for several days.
Variations
Flavor Variations
You can change up the flavor of your mochi brownies. One easy way is by adding different types of chocolate. You can swap semi-sweet chocolate chips for dark or white chocolate. Each type gives a unique taste. For a fun twist, try using mint chocolate chips or peanut butter chips. These will add exciting new flavors to your treats.
You can also incorporate nuts or fruits into your brownies. Chopped walnuts or pecans add crunch and flavor. Dried fruits like cherries or cranberries bring a nice sweetness. Fresh fruits like raspberries or strawberries can be mixed in too. Just be careful not to add too much, so the batter stays thick and chewy.
Dietary Adjustments
If you need to make gluten-free mochi brownies, it’s simple. Use glutinous rice flour, which is naturally gluten-free. Double-check that your other ingredients, like baking powder, are also gluten-free. This way, everyone can enjoy your mochi brownies without worry.
For dairy-free options, substitute regular milk with almond or oat milk. You can use coconut oil instead of vegetable oil if you like. These small changes keep your brownies tasty and safe for those avoiding dairy. Enjoying mochi brownies can be easy for everyone!
Storage Info
Storing Mochi Brownies
To keep your mochi brownies fresh, store them in an airtight container. Place a piece of parchment paper between layers to prevent sticking. Refrigeration works well for short-term storage, keeping them moist and chewy for about one week.
If you want to enjoy these treats later, freezing is a great option. Cut the brownies into squares and wrap each piece in plastic wrap. Then, place them in a freezer-safe bag or container. They can last up to three months in the freezer.
Reheating Tips
To enjoy soft, warm brownies, reheat them in the microwave. Heat one square at a time for about 10-15 seconds. Check the brownie to see if it’s warm enough. If not, add a few more seconds.
You can also serve leftovers in fun ways. Crumble them over ice cream for a sundae. Use them in a parfait with yogurt and berries for a tasty twist.
FAQs
What is the difference between mochi brownies and regular brownies?
Mochi brownies use glutinous rice flour, while regular brownies use all-purpose flour. This gives mochi brownies a unique chewy texture. Regular brownies are usually fudgy or cakey. Mochi brownies blend flavors from both desserts. They are sweet, soft, and stretchy. This makes them a fun treat for any chocolate lover.
Can I make mochi brownies in advance?
Yes, you can make mochi brownies in advance! They store well in an airtight container. Keep them in the fridge for up to a week. You can also freeze them for longer storage. Just let them cool completely before wrapping. When ready to eat, thaw in the fridge or at room temperature.
How do I know when the brownies are properly baked?
To check if the brownies are baked, use a toothpick. Insert it into the center of the brownies. If it comes out with a few moist crumbs, they are done. If it comes out clean, they may be overbaked. Keep an eye on the time, baking for 30-35 minutes usually works. Let them cool for about 10 minutes before removing from the pan.
Mochi brownies combine classic flavors with a chewy, delightful twist. We explored key ingredients like glutinous rice flour, sugar, and cocoa powder. You learned step-by-step instructions for perfect baking. We shared tips for serving and delicious variations to try. Finally, we discussed storage methods to keep brownies fresh. Enjoy your baking adventure and have fun experimenting with flavors! These treats are sure to impress everyon