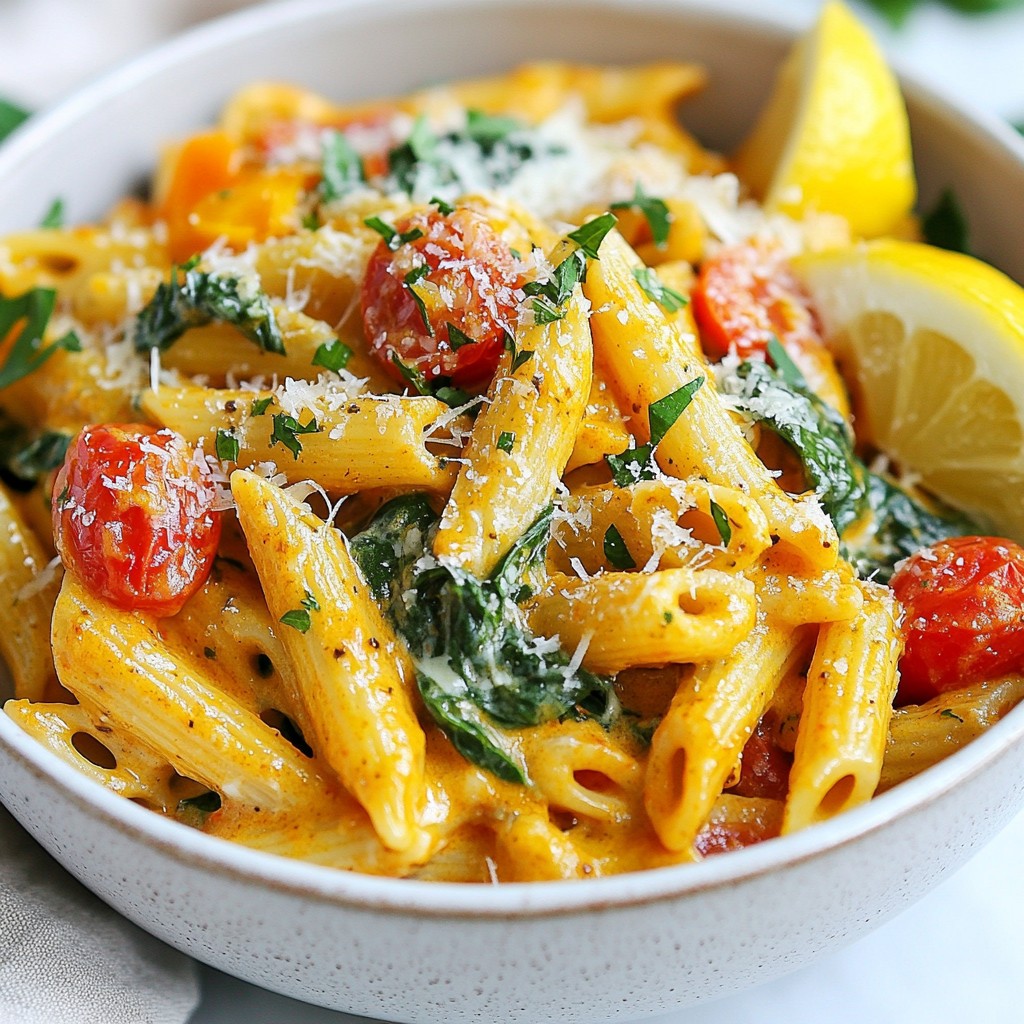
Are you ready to impress your family with a meal that’s both easy and delicious? Cheesy Spinach Stuffed Shells combine soft pasta with creamy filling for a dish everyone will love. In this blog post, I’ll guide you through each step, from selecting the best ingredients to baking the perfect shells. Let’s dive into making this tasty family dinner that will have everyone asking for seconds!
Why I Love This Recipe
- Delicious Flavor Combination: The blend of creamy ricotta, savory spinach, and gooey mozzarella creates a mouthwatering filling that is hard to resist.
- Easy to Make: This recipe is straightforward and perfect for both novice cooks and experienced chefs looking for a quick yet impressive dish.
- Perfect for Meal Prep: These cheesy stuffed shells can be made in advance and are great for leftovers, making them ideal for busy weeknights.
- Customizable: You can easily modify the ingredients by adding different vegetables or proteins to suit your taste preferences.
Ingredients
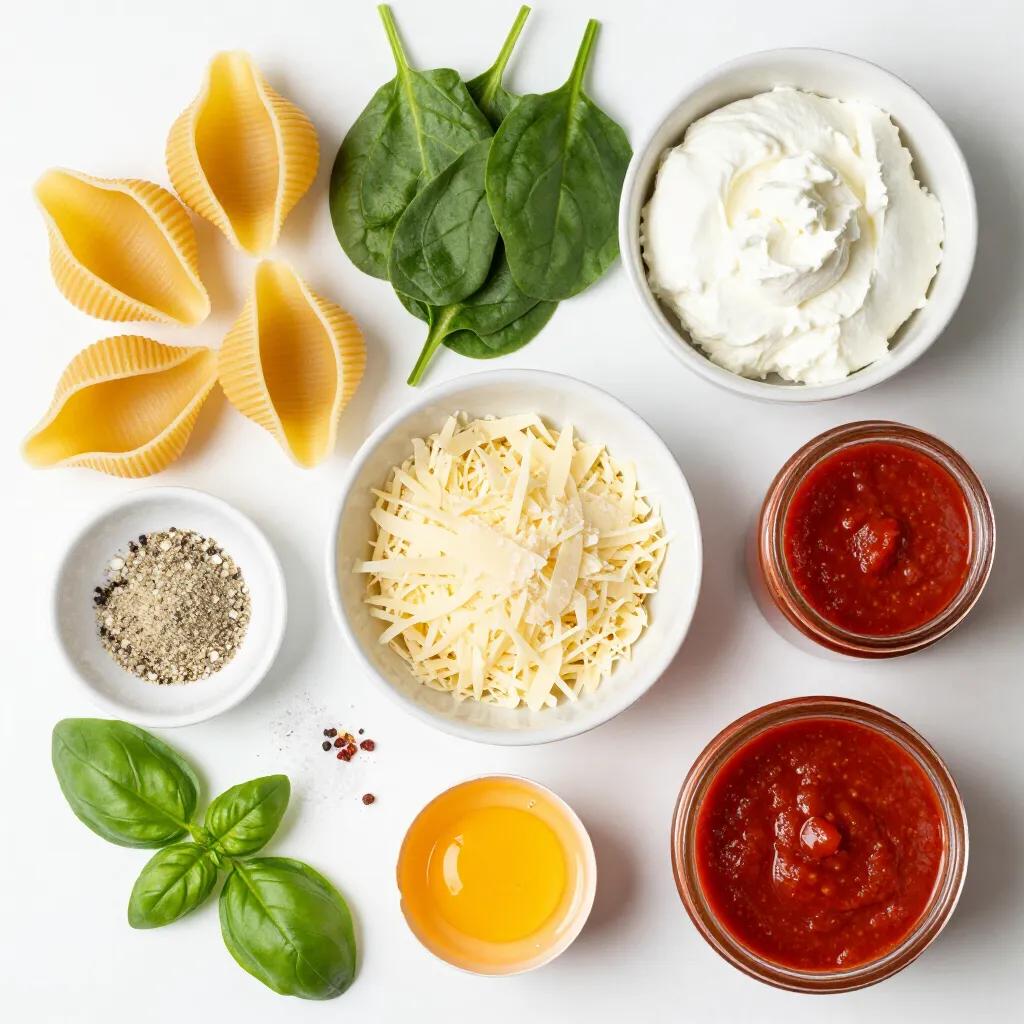
Complete list of ingredients
For Cheesy Spinach Stuffed Shells, gather these items:
– 12 large pasta shells
– 2 cups fresh spinach, chopped
– 1 cup ricotta cheese
– 1 cup shredded mozzarella cheese, divided
– 1/2 cup grated Parmesan cheese
– 1 egg, beaten
– 1 teaspoon garlic powder
– 1/2 teaspoon red pepper flakes (optional)
– 2 cups marinara sauce
– Salt and pepper to taste
– Fresh basil, for garnish
Notes on ingredient quality (fresh vs. frozen)
Using fresh ingredients makes a big difference. Fresh spinach has a bright flavor and a nice texture. It wilts perfectly in the filling. Fresh ricotta cheese offers a creamier taste. If you can’t find fresh, frozen works too. Just thaw and drain it well before use. Frozen spinach may have extra water, so squeeze it out.
Possible substitutions for dietary restrictions
You can easily adapt this recipe for dietary needs. For a dairy-free option, use vegan ricotta and mozzarella. If you want a gluten-free dish, swap regular pasta shells for gluten-free ones. For a lower-carb version, try using zucchini slices instead of pasta. Just slice the zucchini thinly and layer it.
Step-by-Step Instructions
Prepping the pasta shells
Start by cooking the pasta shells. Boil a large pot of water. Add a pinch of salt for flavor. Cook the shells according to the package directions until they are al dente. This means they should be firm but not hard. Once done, drain the shells and let them cool for a few minutes. This helps prevent burns when you stuff them later.
Preparing the filling
In a large mixing bowl, mix the filling. Add the chopped spinach, ricotta cheese, half of the mozzarella cheese, and grated Parmesan cheese. Then, crack an egg and beat it before adding to the bowl. Stir in the garlic powder, red pepper flakes, salt, and pepper. Mix everything until it’s well blended. This filling is creamy and packed with flavor.
Assembling and baking the dish
Now, it’s time to assemble. Take a pasta shell and carefully stuff it with the cheese and spinach mix. Place each filled shell in a greased baking dish. Once all shells are in the dish, pour the marinara sauce evenly over them. Make sure every shell is covered in sauce. Then, sprinkle the remaining mozzarella cheese on top. Cover the dish with aluminum foil and bake it in a preheated oven at 375°F (190°C) for 25 minutes. After that, remove the foil and bake for another 10 to 15 minutes. The cheese should be bubbly and slightly golden. Let it cool for a few minutes before serving. Enjoy your tasty family dinner!
Tips & Tricks
How to prevent shells from breaking
To keep your pasta shells from breaking, cook them just until they are al dente. This means they should still have a bit of firmness. Drain them gently and let them cool a little. You can also toss them with a bit of olive oil to keep them from sticking together. Handle them carefully as you stuff them. If they feel too soft, wait until they cool down more.
Cooking tips for perfect cheese melting
For the best cheese melt, use fresh mozzarella instead of pre-shredded cheese. Fresh mozzarella melts evenly and gives a great stretch. When you bake the shells, cover them with foil first. This keeps the heat in and helps the cheese melt smoothly. After 25 minutes, remove the foil for the last 10 to 15 minutes. This lets the cheese bubble up and turn golden brown.
Serving suggestions for enhanced flavor
To make your Cheesy Spinach Stuffed Shells even better, add fresh herbs. Chopped basil or parsley really brightens the dish. Serve them with a side salad to balance the meal. You can also pair them with garlic bread for a cozy dinner. Drizzle a bit of extra marinara on top before serving for added flavor and a pretty look.
Pro Tips
- Use Fresh Spinach: Fresh spinach will provide a vibrant flavor and better texture than frozen spinach, which can be watery.
- Perfectly Cooked Shells: Make sure to cook the pasta shells al dente, as they will continue to cook in the oven, preventing them from becoming mushy.
- Cheese Variations: Feel free to mix in other cheeses like feta or goat cheese for a unique twist on flavor.
- Make Ahead: You can prepare the stuffed shells ahead of time and refrigerate them before baking. Just add a few extra minutes to the baking time.
Variations
Spinach and cheese alternatives
You can mix things up by changing the spinach and cheese. Try using kale instead of spinach for a different taste. Cream cheese can work too. It gives a creamy texture. You can also swap mozzarella for gouda or cheddar. These changes add a fun twist to your stuffed shells.
Meat and vegetable additions
Want to add some meat? Ground beef or sausage goes well. Just cook the meat first. You can also add chopped bell peppers or mushrooms to the filling. These veggies add a nice crunch and flavor. Mix and match to create your perfect dish.
Gluten-free options
If you need a gluten-free meal, use gluten-free pasta shells. They taste great and hold the filling well. Make sure to check the sauce too. Some marinara sauces are gluten-free. Enjoy a tasty meal without worry!
Storage Info
Best practices for storing leftovers
To store leftovers, let the Cheesy Spinach Stuffed Shells cool down first. Place them in an airtight container. Use a container that fits well to avoid excess air. Store in the fridge for up to three days. This helps keep the flavors fresh and the texture nice.
Freezing instructions for future meals
If you want to freeze the shells, assemble them but do not bake. Cover the baking dish tightly with plastic wrap, then foil. This prevents freezer burn. You can freeze them for up to three months. When you’re ready to eat, thaw them in the fridge overnight before baking.
Reheating tips to maintain texture and flavor
To reheat, place the shells in an oven-safe dish. Add a splash of marinara sauce to keep them moist. Cover with foil to avoid drying out. Heat in a preheated oven at 350°F (175°C) for about 20 minutes. This keeps the cheese gooey and the pasta tender.
FAQs
Can I make Cheesy Spinach Stuffed Shells ahead of time?
Yes, you can prepare Cheesy Spinach Stuffed Shells ahead of time. Just make the filling and stuff the shells. Then, cover them with sauce and cheese. Store the dish in the fridge for up to two days. When you are ready to bake, preheat the oven and cook as usual. This makes dinner easy on busy nights!
How long to bake stuffed shells if they’re frozen?
If your stuffed shells are frozen, bake them for about 50 to 60 minutes. Start with the oven at 375°F (190°C). Cover the dish with foil for the first 30 minutes. Then, remove the foil to let the cheese melt nicely. Check that the center is hot before serving.
What can I serve with Cheesy Spinach Stuffed Shells?
Cheesy Spinach Stuffed Shells pair well with many sides. A fresh side salad makes a nice choice. You can add garlic bread for extra flavor and crunch. Roasted vegetables also work well. Each option adds color and taste to your meal.
You now have a clear guide to make Cheesy Spinach Stuffed Shells. We covered the ingredients, cooking steps, and helpful tips to avoid common mistakes. You can easily customize this dish to fit your needs, whether you need gluten-free options or different fillings.
Remember, the right storage methods make a big difference for leftovers. Keep this recipe handy for a quick, tasty meal anytime. Dive into this delicious dish and enjo